

Step 1
Use an eyelash curler. Make sure to clean your false lashes before application

Offre exclusive
Join the My Essencil community and receive your discount code directly in your inbox.
C'est dans votre boîte !
WELCOME10Copiez ce code lors de votre prochain achat.
Pas de spam. Désabonnement en un clic à tout moment.
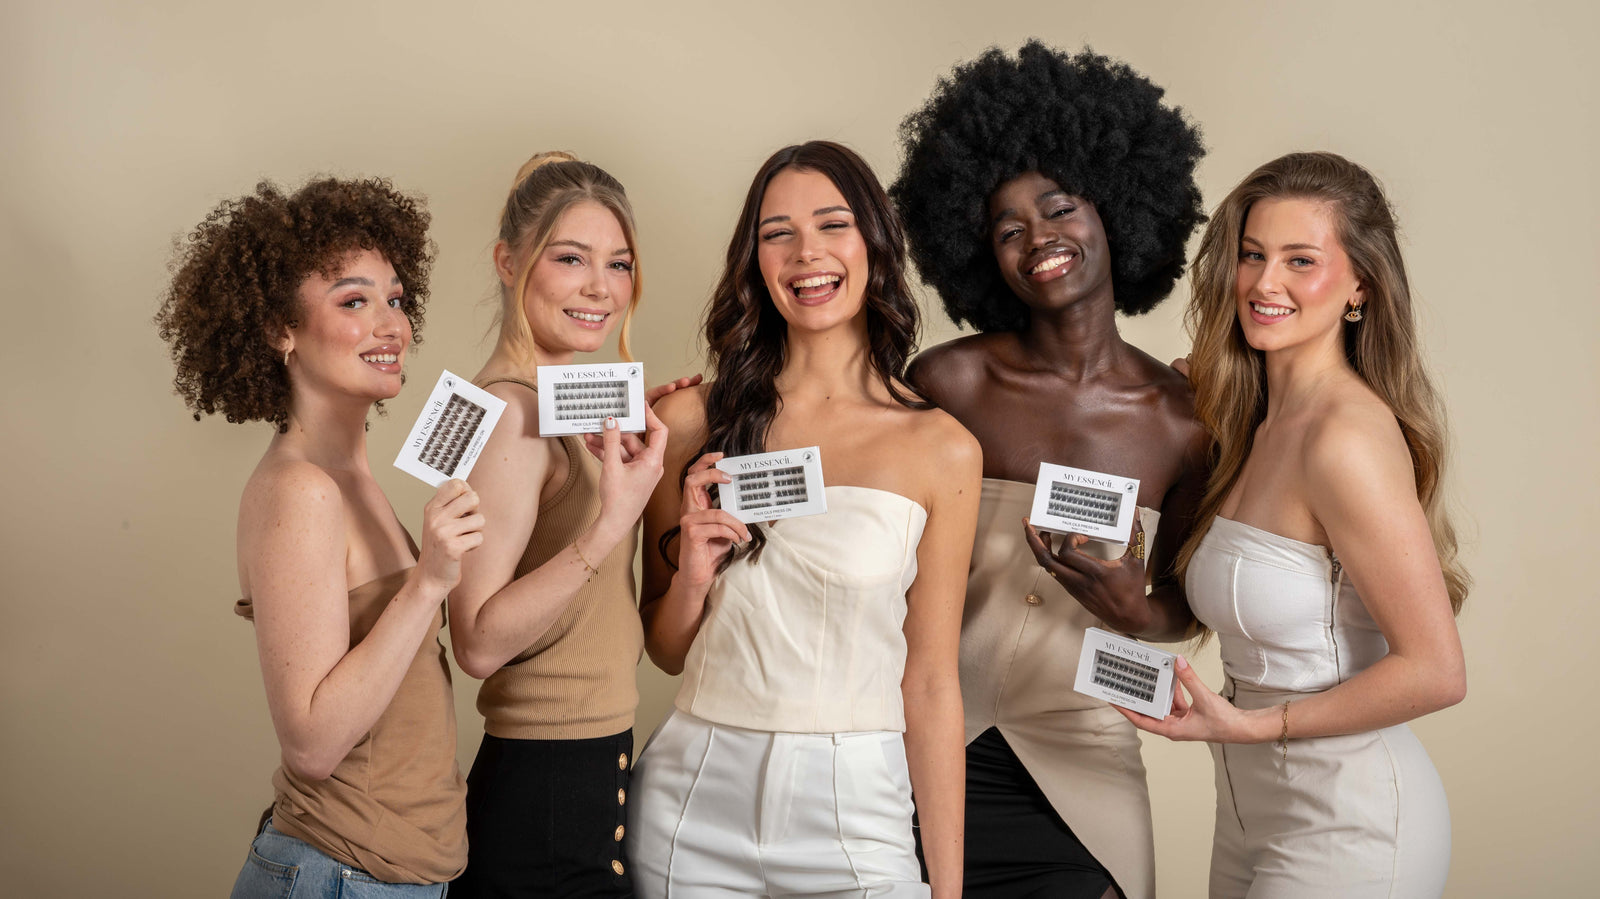
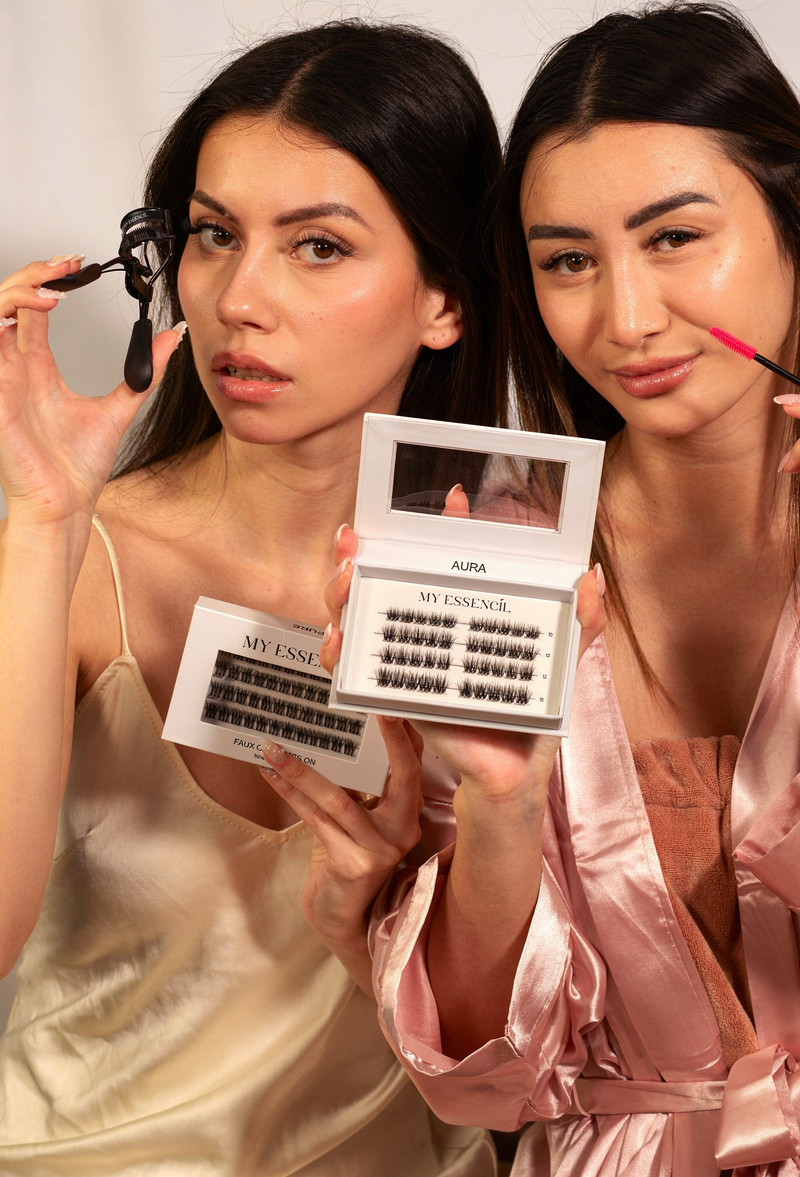
Segments, mapping, curves, and morphologies. Everything you need to know to enhance your gaze.
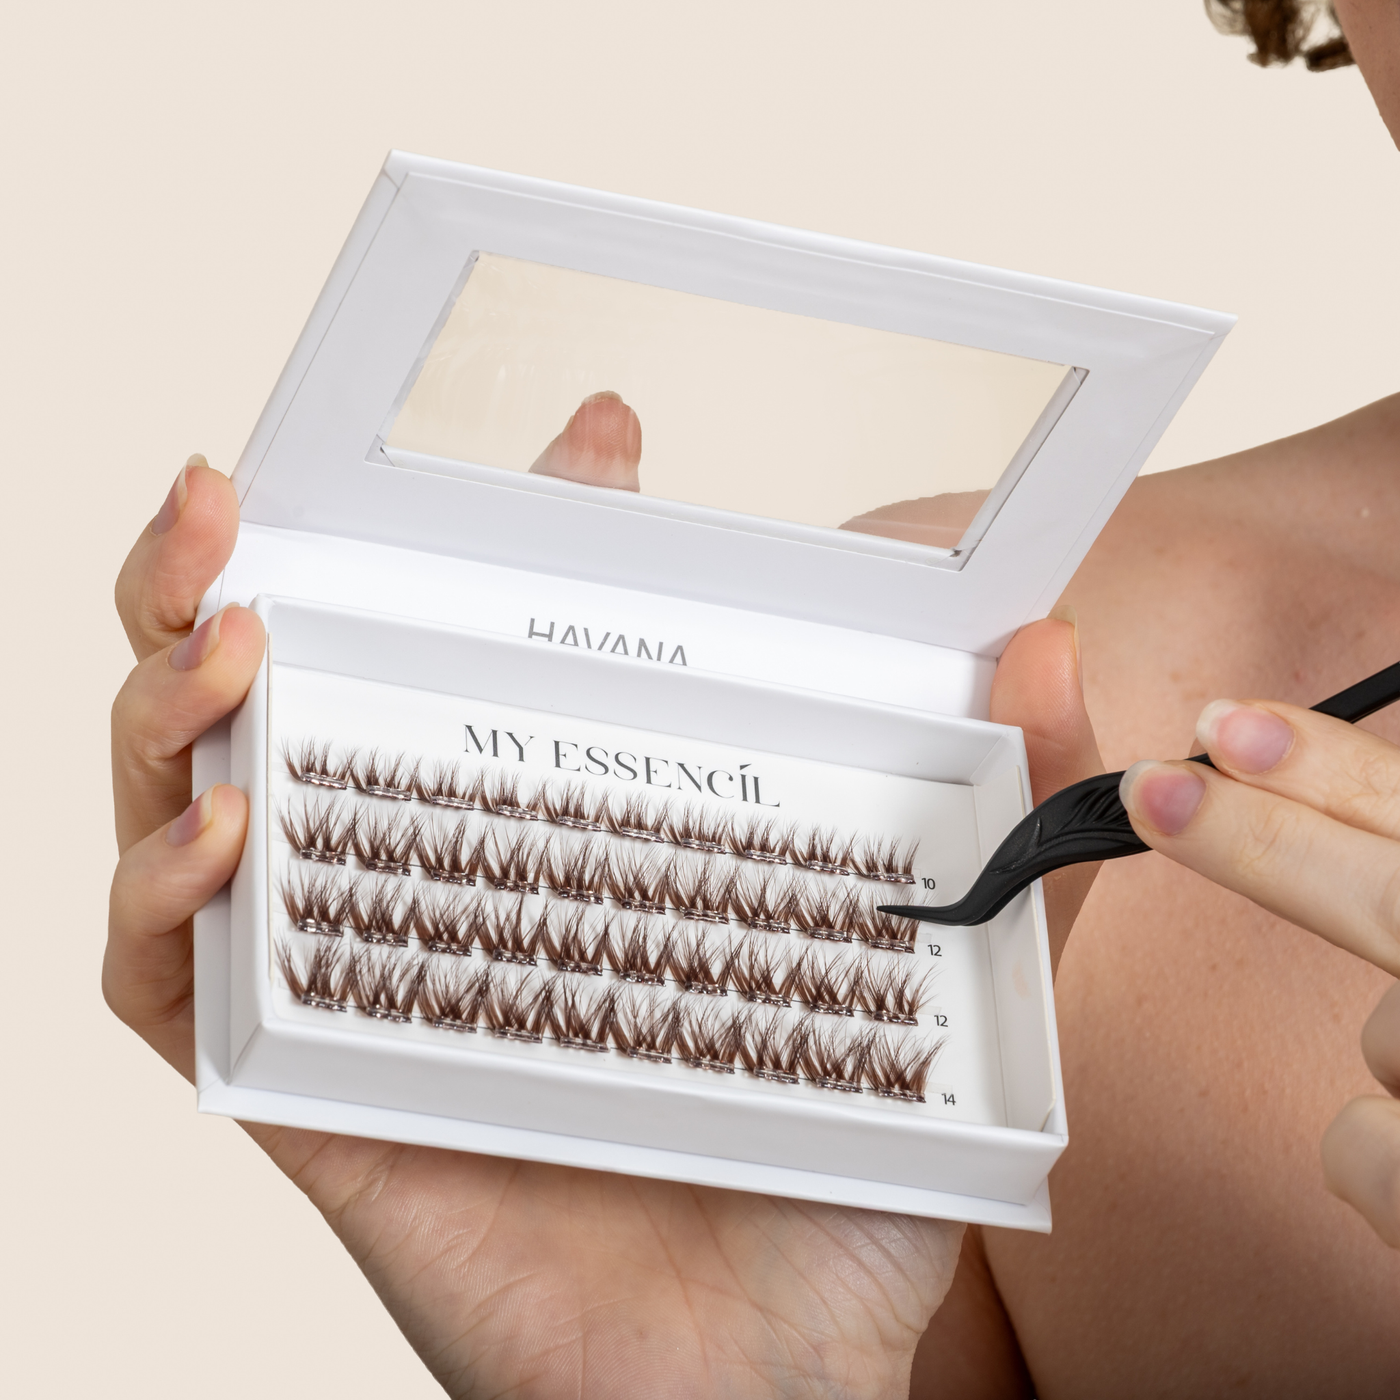
Understand Lash Segments
Our 10, 12, and 14 mm length segments are used to create the desired effect and best enhance the shape of your eyes. They can be layered, spaced out, or mixed depending on the desired result.
The number of segments used depends on the size and shape of your eyes.
It is a technique used by Lash Artists to plan and apply lash extensions in a customized and aesthetic way. Through mapping, you can create the best style to enhance the eyes and correct imperfections. The goal is to create a harmonious application tailored to your eyes and preferences.
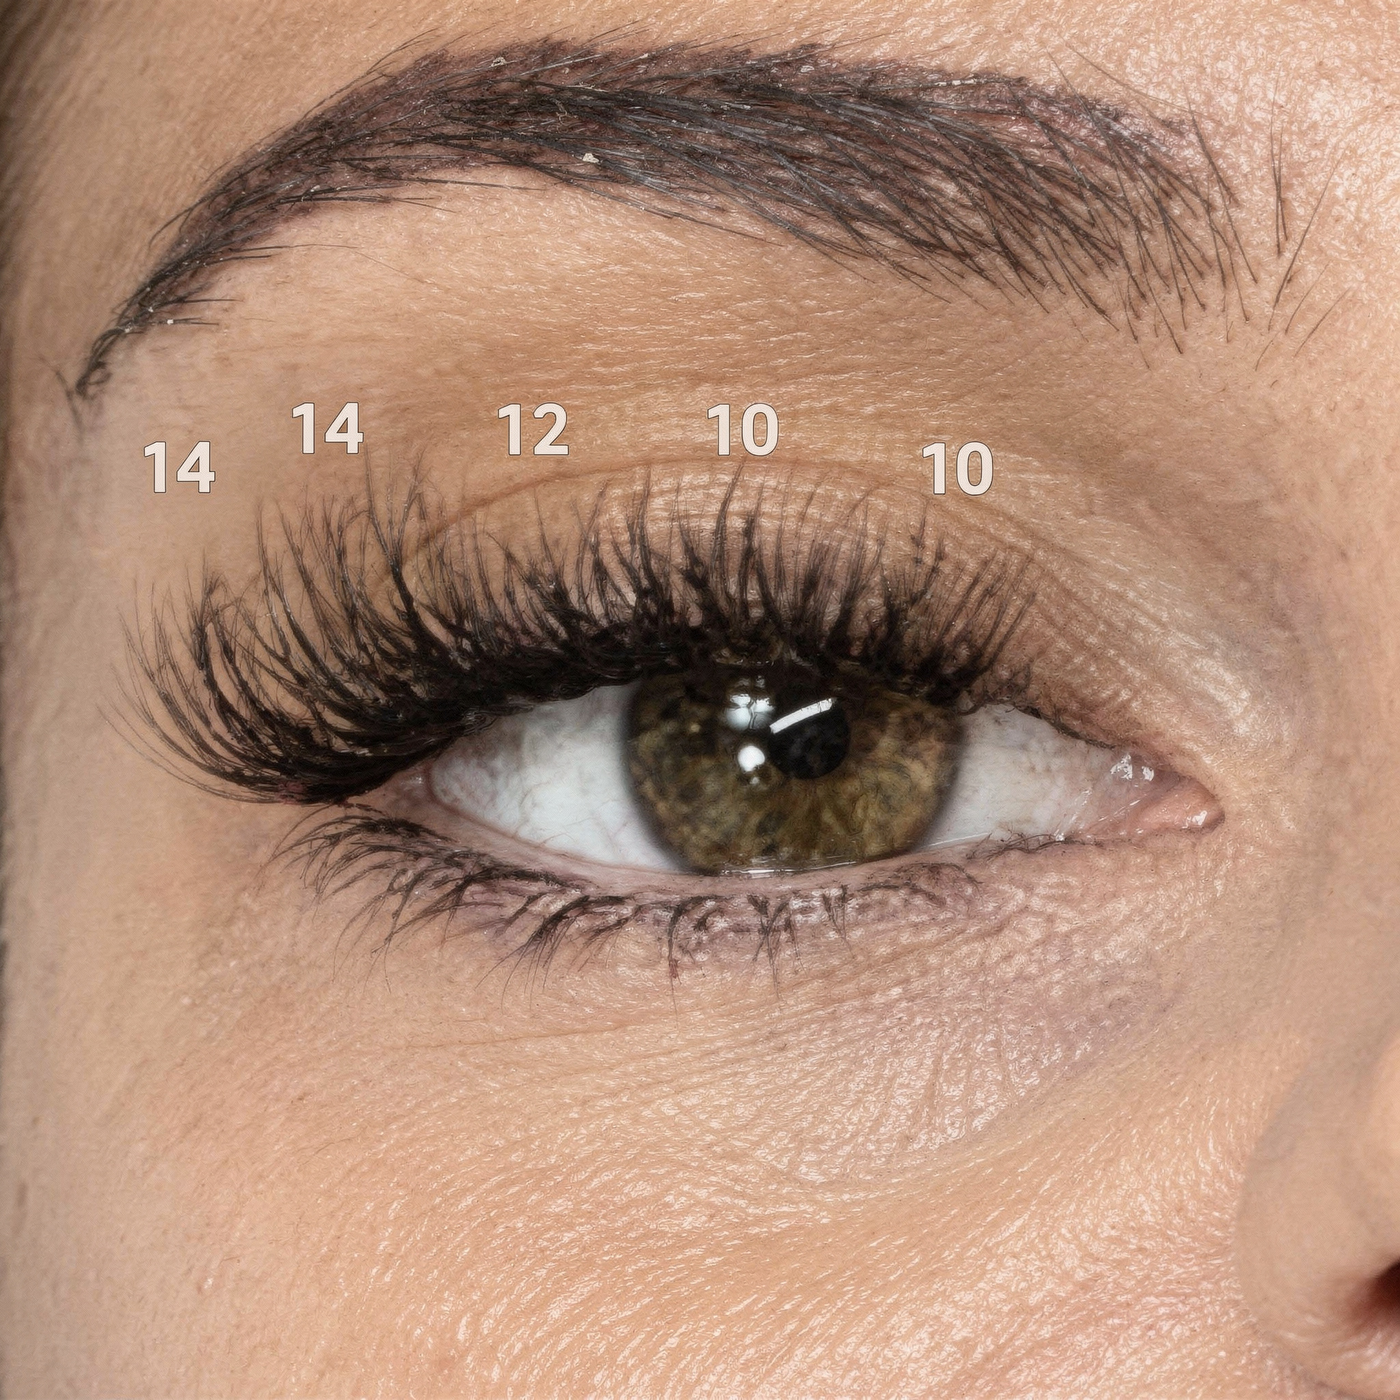
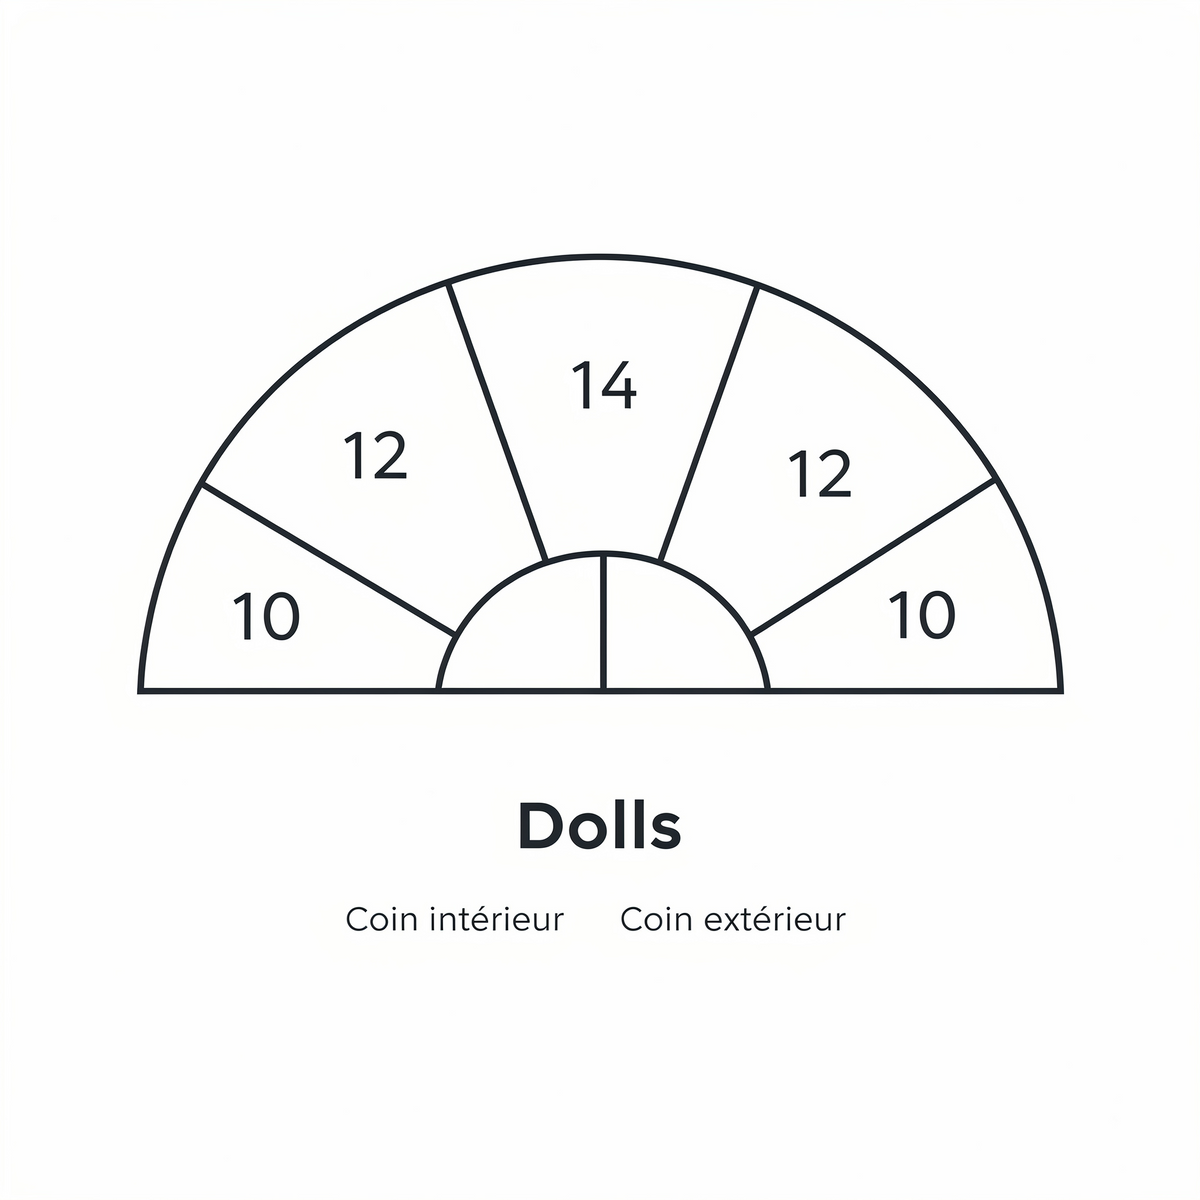
Dolls
Enlarges and opens up the eyes. The longest segments are placed in the center of the eyelid for a doll-eye effect.
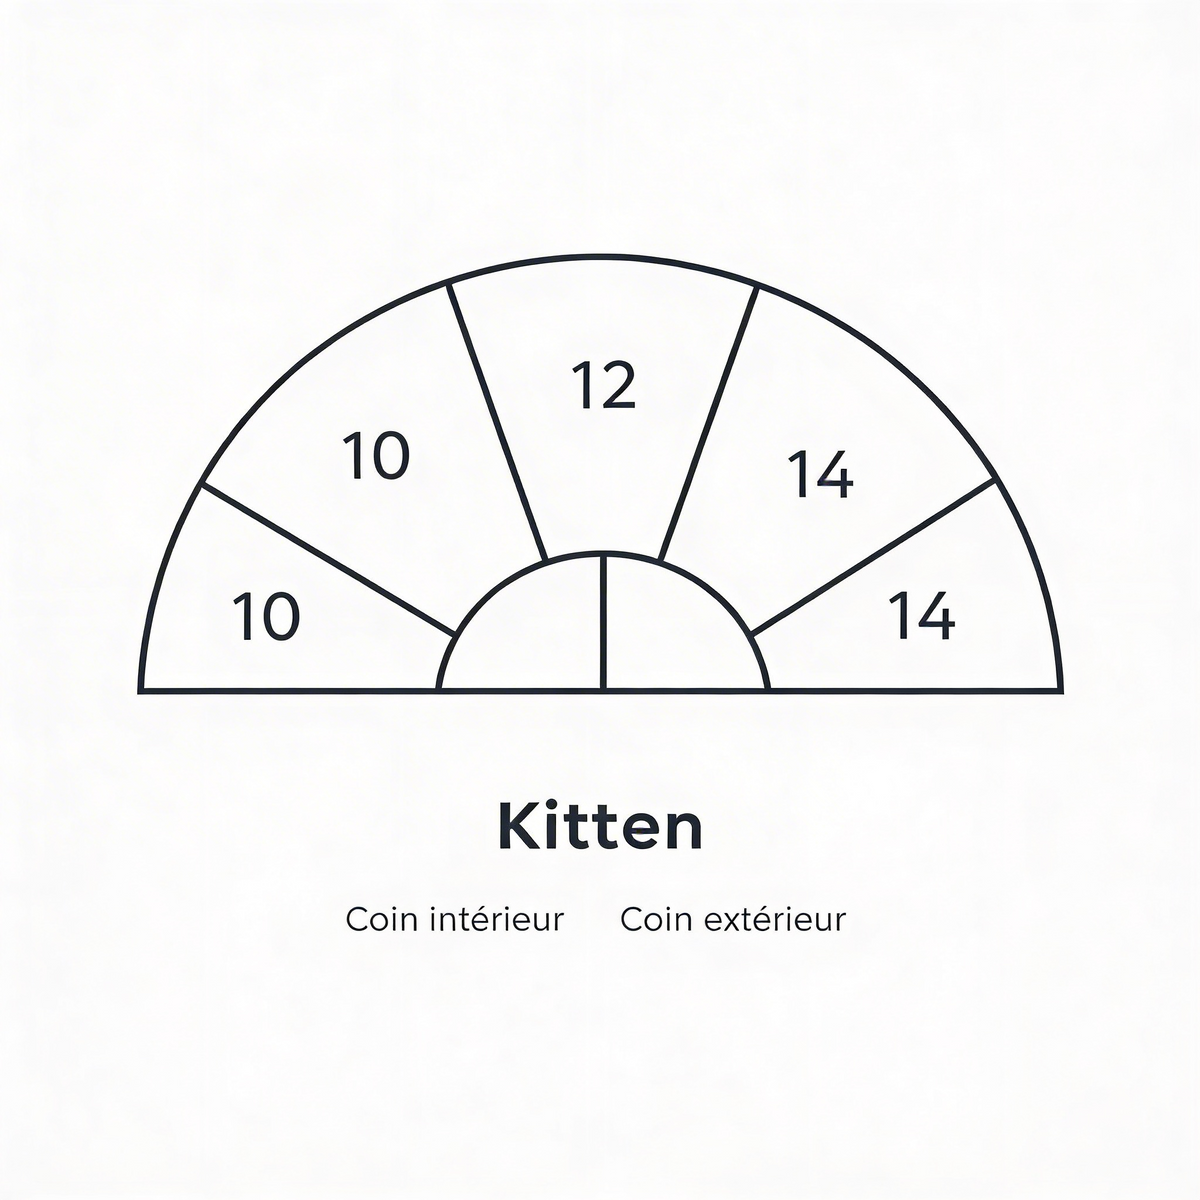
Kitten
Elongate the eye outwards. Lengths gradually increase towards the outer corner for a subtle feline effect.
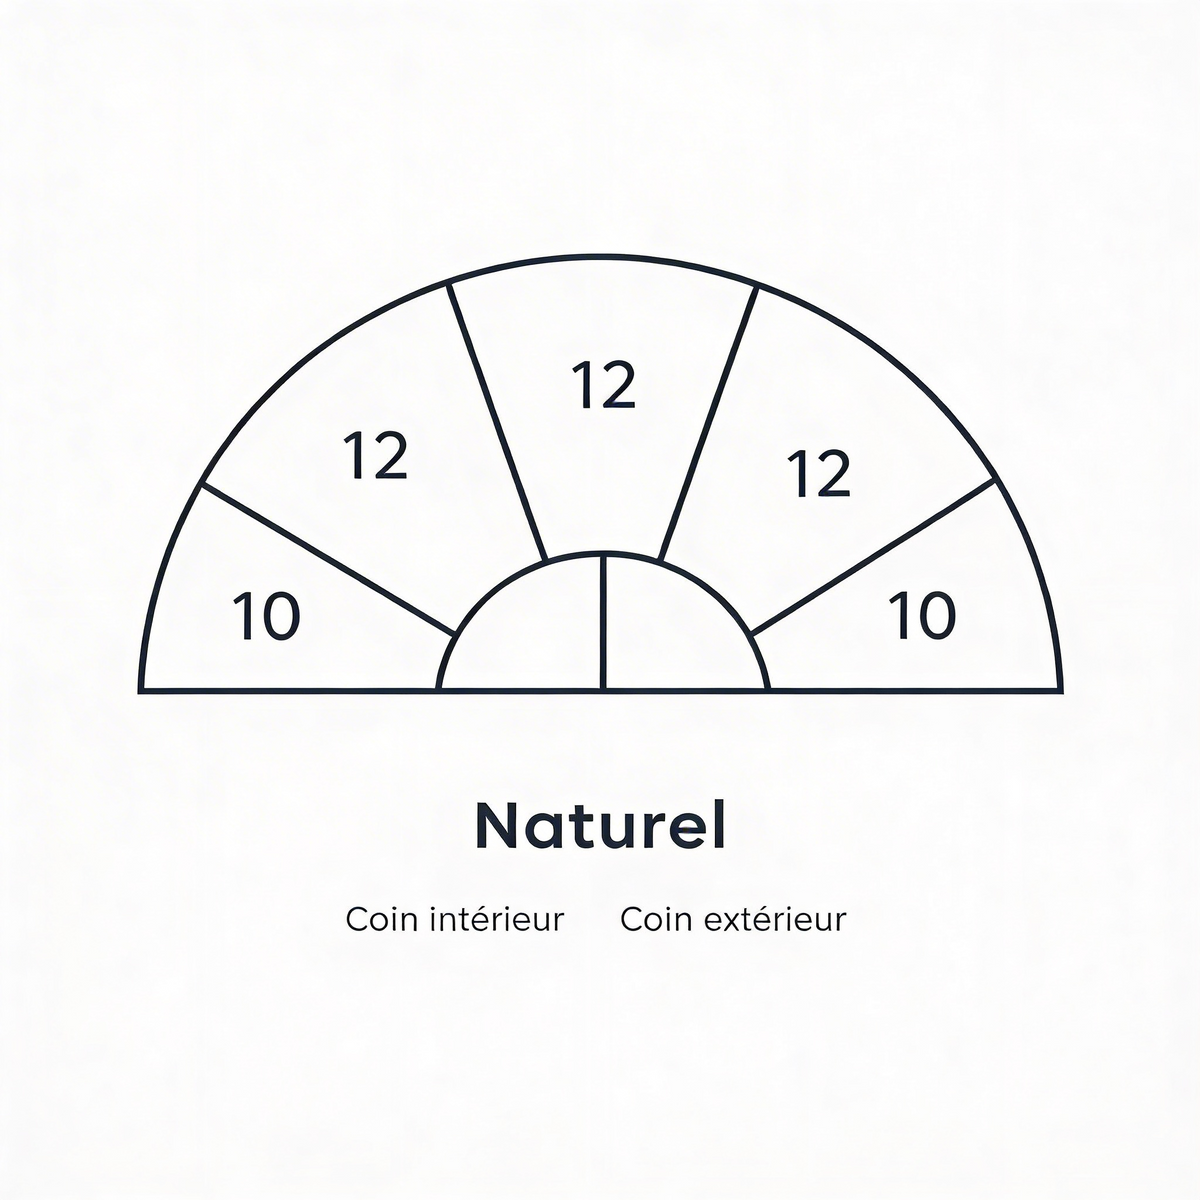
Natural
Most subtle effect. The lengths are uniform across the entire eyelid for a daily, harmonious look.
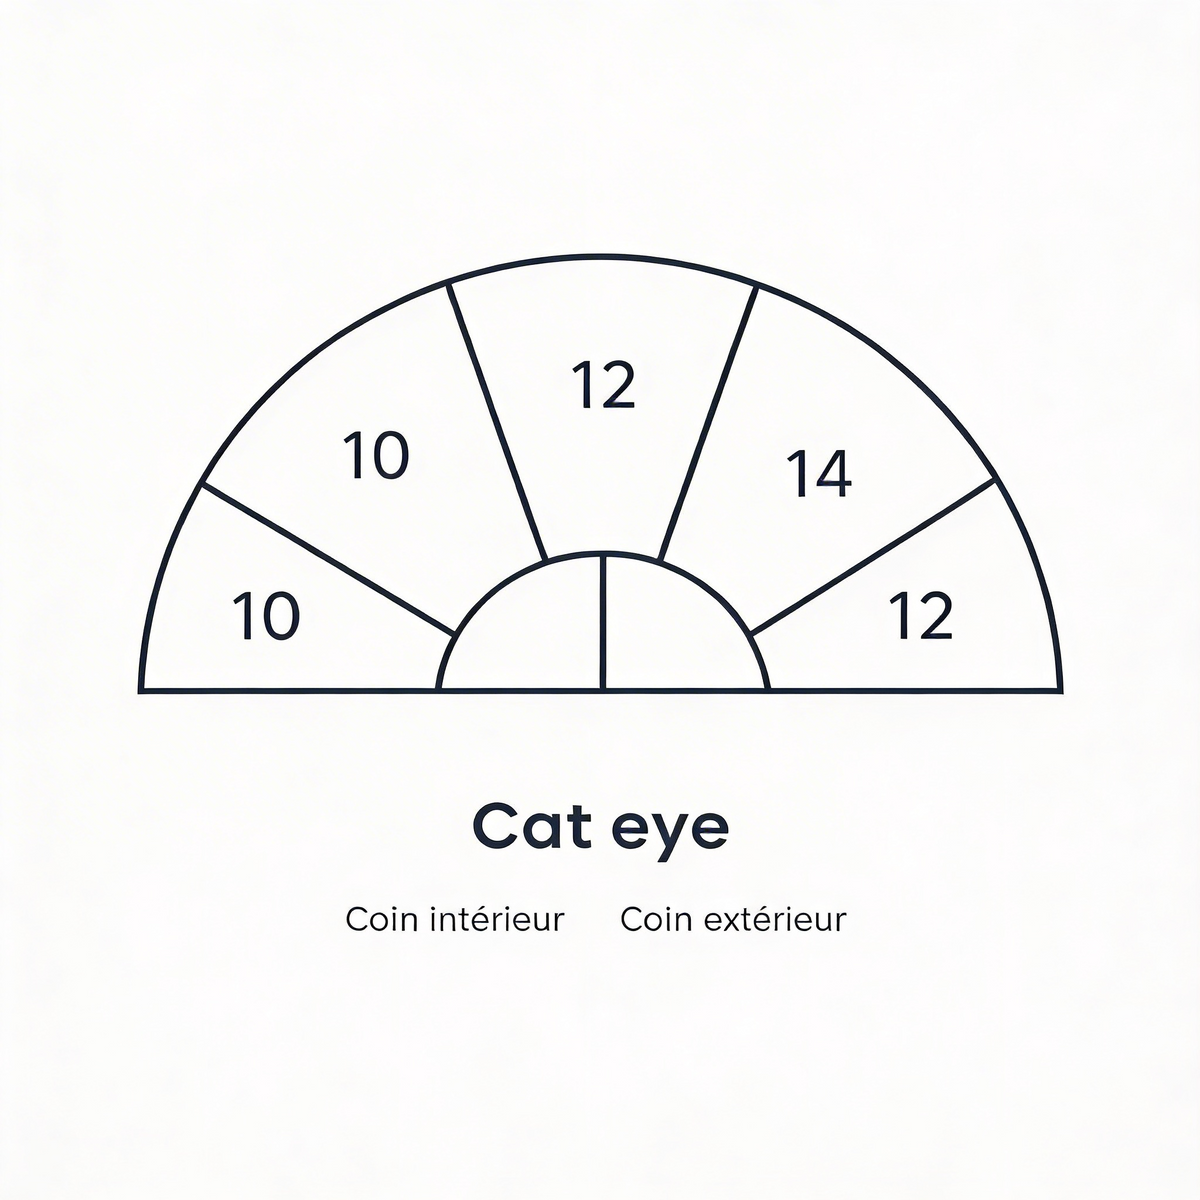
Cat eye
Feline and intense effect. The longest segments are placed towards the outer corner of the eye for an elongated look.
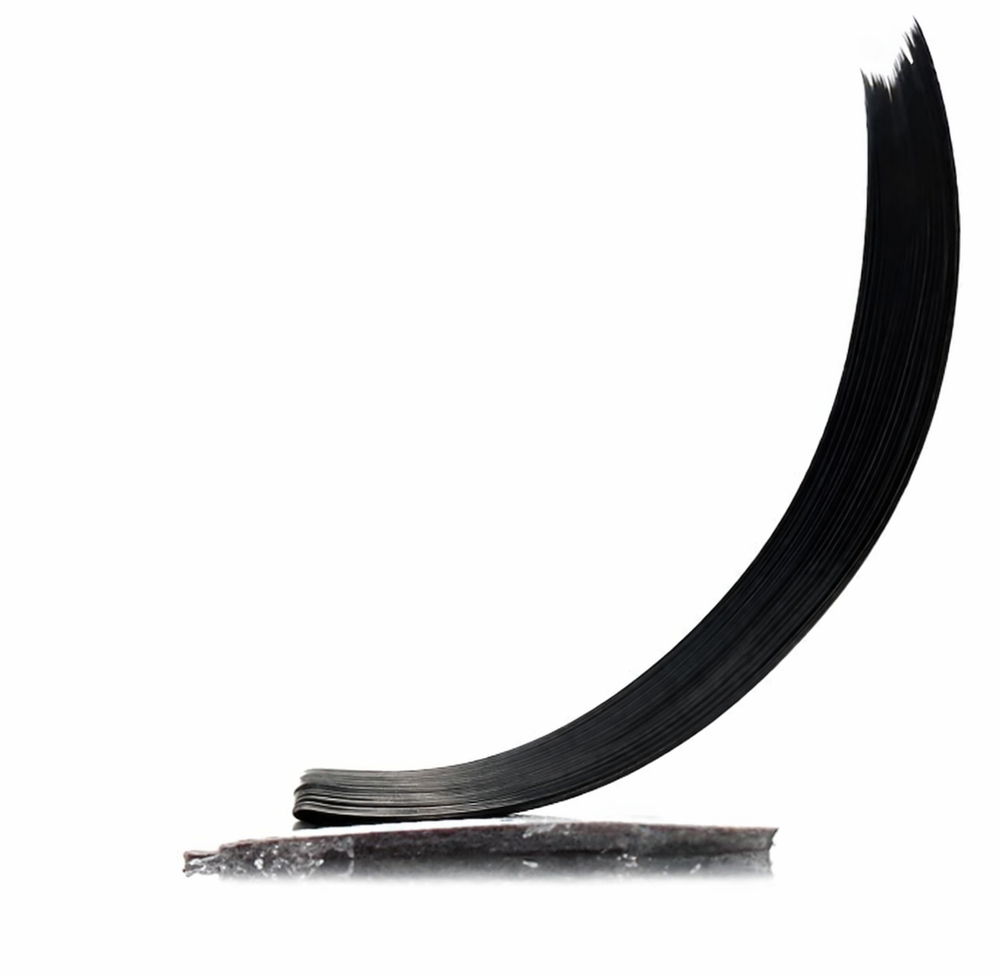
C curl is often used to subtly enhance the curl of natural lashes.
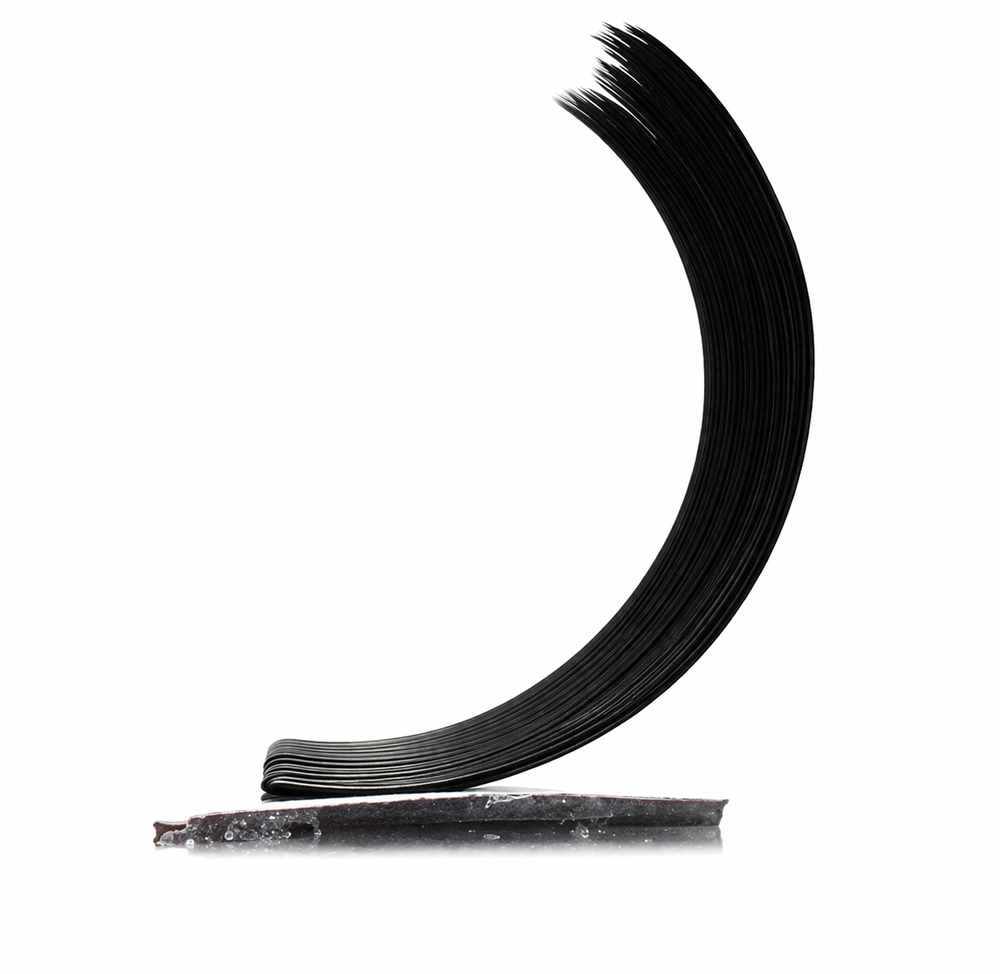
D curl gives the illusion of a bigger eye. Its strong loop is perfect for a more dramatic look.
To choose the appropriate mapping and curvature, it is essential to analyze your eye shape.


Espace sourcil bas
Lower brow space
Opt for natural mapping or Cat eye and Kitten mapping with short lengths.
Espace sourcil haut
Upper brow space
Total freedom on the choice of mapping and curves—all styles work.
INSTRUCTIONS FOR USE
A quick and easy 4-step installation
Pre-glued false eyelashes, really easy to apply, with no glue and no expertise required.
Use an eyelash curler. Make sure to clean your false lashes before application
Gently pick up the false eyelash using our applicator tweezers without touching the adhesive strip
Place the false lash under your natural lashes without touching the waterline
Pinch the lashes together with your fingers and the tweezers to seal the application. You're done!
Our Selection

Reçois ta reco par email
Laisse ton email : on t'envoie ton modèle idéal et tes conseils de pose personnalisés.


